Glass Soap Dispensers: A Guide to Choosing, Using, and Caring for Them
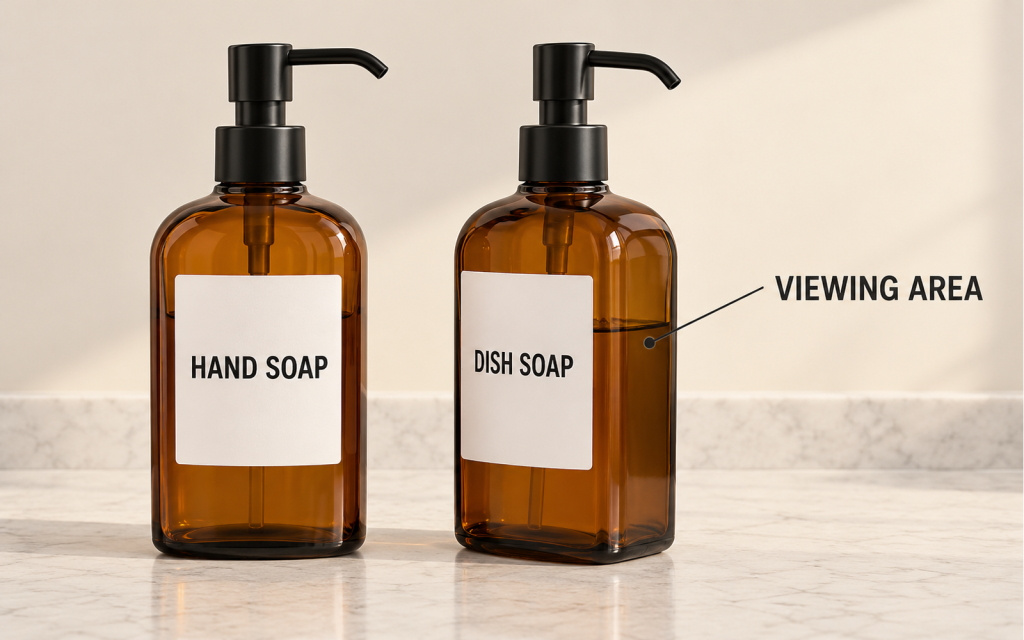
Choose a glass soap dispenser whose pump suits your soap and whose complete size fits your sink, then maintain it through correct refilling and separate cleaning of the bottle and pump.
Match usable capacity to your refill routine and color to the setting. Fill on a stable surface, leaving room for the pump. If problems develop, check the liquid supply and assembly before replacing parts; an intact bottle can often stay in use with a suitable replacement pump.
Match the pump to the liquid
Choose a liquid pump for liquid soap or a foaming pump for foam. The refill must suit that mechanism; for dish soap, lotion, or shampoo, the pump’s stated application matters too.
Liquid soap pumps
A pump intended for ordinary liquid hand soap is the starting point; suitability for thicker products and output per stroke depend on the mechanism. In a typical spring-return pump, pressing the head dispenses liquid and releasing it draws more through a dip tube that must reach the liquid, so a newly filled pump may need several strokes to establish flow.
Foaming soap pumps
To dispense foam, use a foaming mechanism with a compatible foaming refill.
The pump combines suitable liquid with air and passes it through mesh or another porous element. The bottle stores liquid; foam forms during dispensing. A matched bottle, foaming pump, and refill provides this function.
- Ready-to-use foaming refill: Use it as supplied.
- Compatible concentrates or tablets: Follow the specified water quantity and preparation method; there is no universal soap dilution ratio.
Converting an existing dispenser also requires a foaming pump that fits its bottle connection.
Dish soap, lotion, and shampoo
Glass dispensers are available for hand soap, dish soap, and lotion; pumps intended for shampoo and shower gel also exist. Each pump must suit the liquid it dispenses. Check the pump’s applications and refill instructions; if they do not establish suitability, keep the original container or choose an explicitly supported configuration.
Concentrates can require opposite decisions:
- A system designed for prepared concentrate: One glass-pump system uses dish-soap concentrate prepared with a specified quantity of water. Its pump dispenses the prepared soap, not undiluted concentrate.
- A formula that restricts pump use: Some concentrated formulas prohibit ordinary or automatic pumps because they can clog. Keep those in their original bottle or use a supported alternative, such as a manual foamer with that formula’s preparation instructions. A metal exterior does not remove the restriction, and arbitrary dilution does not replace a supported method.
Choose a pump material and finish for everyday use
A compatible pump with a plain plastic exterior has no metal finish to polish. For a metal top, compare coated-surface care with unlacquered brass you can maintain or allow to develop a patina.
The surface you clean can differ from the materials your soap touches, so exterior care and the liquid-contact path answer different parts of the choice.
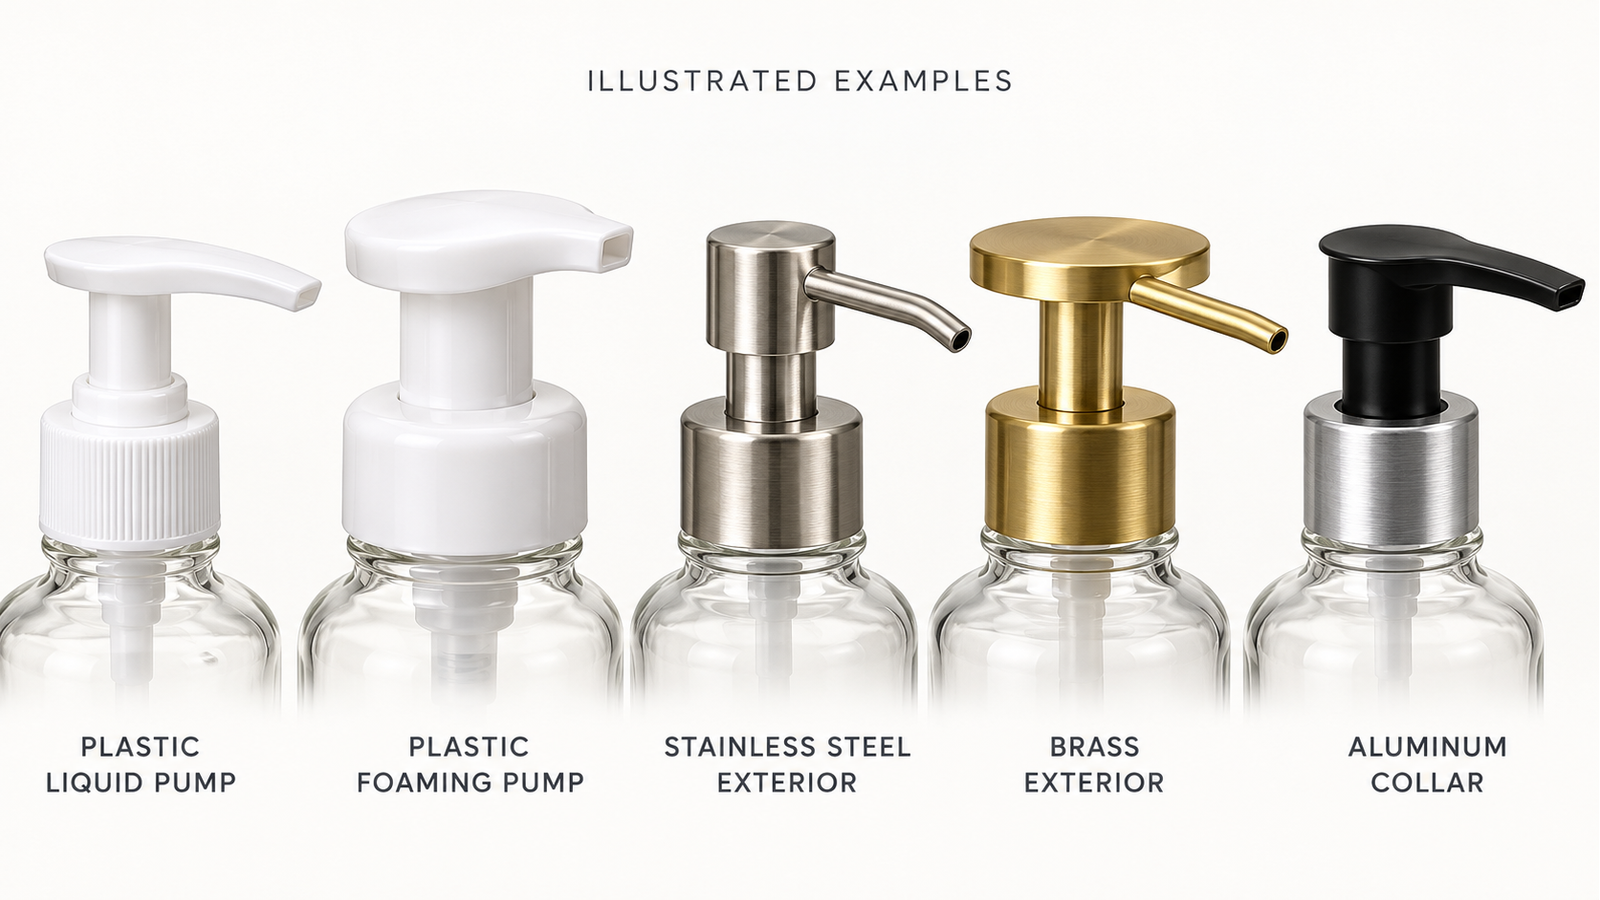
Plastic, stainless steel, brass, and mixed constructions
These configurations illustrate surface and care differences:
| Exterior example | Surface and care | When it suits you |
|---|---|---|
| Plain plastic exterior without a metal coating | No metal finish to polish; remove residue by the pump’s permitted method. | You want a simple top without metal polishing. |
| Black-coated 18/10 stainless-steel pump | A specific pump is described as rust-resistant, but its coated metal lid needs hand washing and immediate drying. | You want a black steel top and can clean it separately from its dishwasher-safe glass bottle. |
| Glass dispenser with unlacquered brass exterior parts | One assembly permits regular cleaning to preserve the finish or natural darkening to an aged patina. | You like an evolving brass surface or accept upkeep to retain its original look. |
- Finish color: Black, gold, and silver describe appearance.
- Internal components: A brass head and spout can use a plastic inner tube; a plastic pump can contain a steel spring.
- Liquid-contact path: If your refill requires no metal contact, choose a compatible pump with a specified metal-free liquid path, where soap avoids metal. Exterior material alone does not establish this, and the formula and bottle connection must still suit the pump.
Choose care and replacement options that suit your routine
Finish care: On some coated pumps, soap around the outlet can damage the finish, while repeated hand contact can wear the pressing surface. Remove exterior residue by the permitted method to protect the finish and keep the outlet clean.
Refill compatibility: One 304-steel-and-plastic pump recommends pH-neutral refills. To retain an acidic or strongly alkaline soap, choose another configuration explicitly suited to it. This is a condition for that pump, not a rule for every stainless-steel design.
Replacement availability: Plastic and steel-component replacement pumps are available. To keep the bottle, favor a combination with a matched spare that fits its connection, seal, tube requirements, and dispensing function.
Clear, amber, and colored glass: visibility and coordination
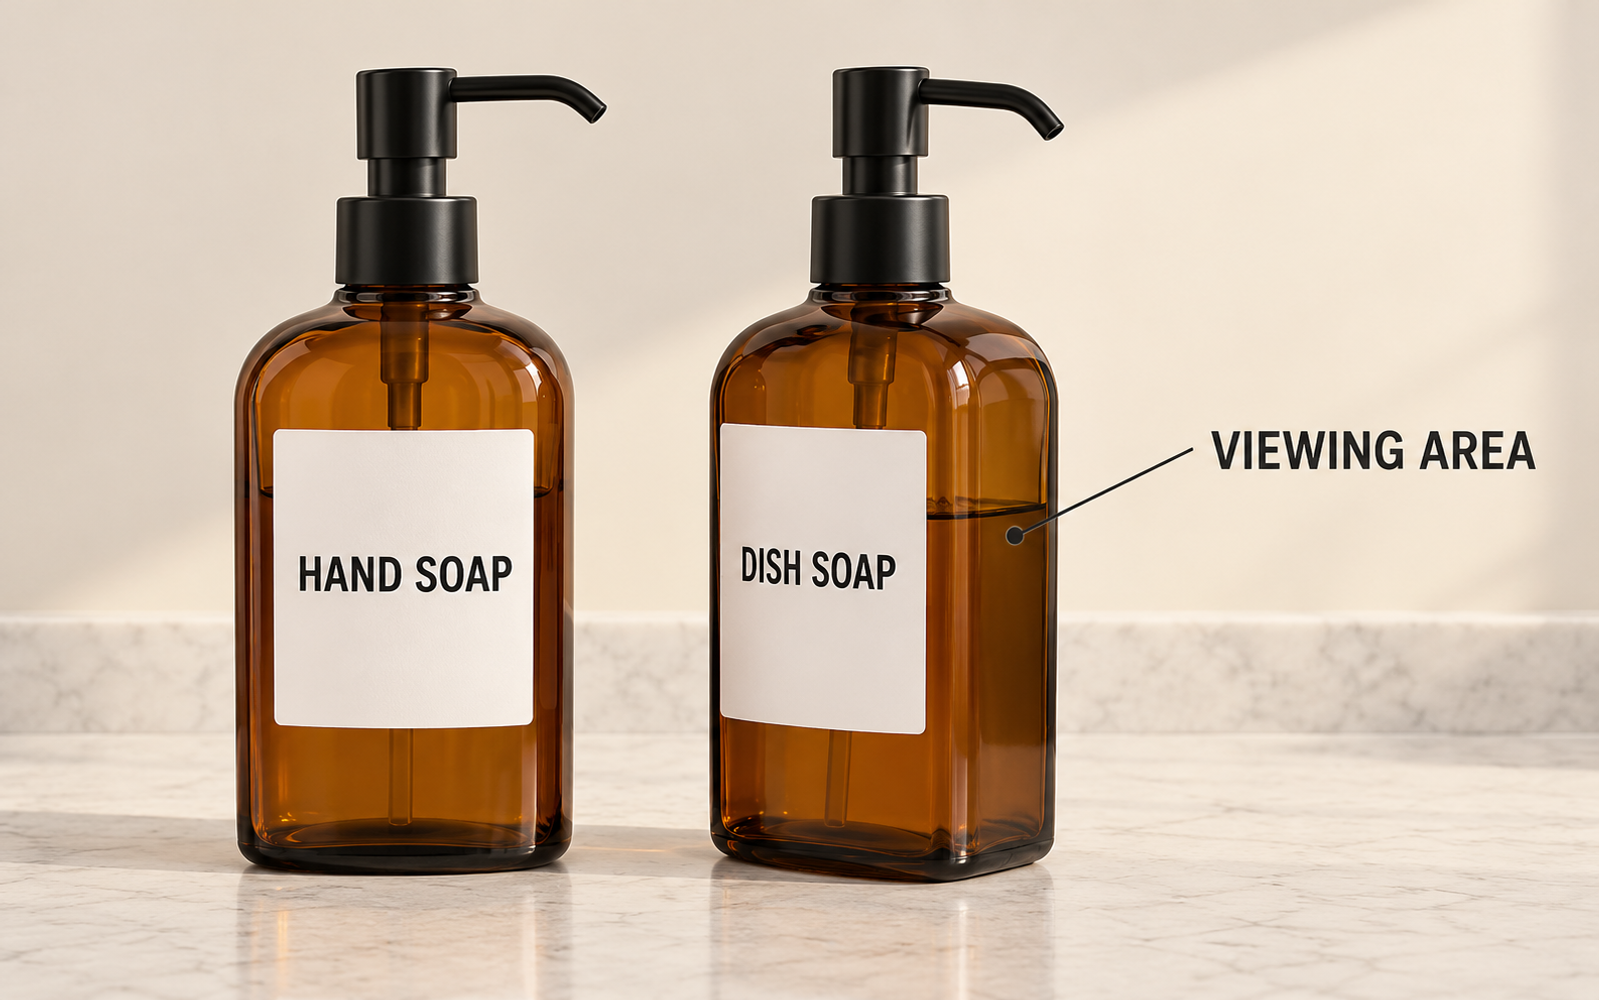
Choose clear glass to see the refill’s color and level. Amber adds brown while often retaining some visibility; painted or frosted surfaces emphasize the bottle’s color. Consider both the arrangement and an unobstructed area for checking contents.
What the color lets you see
| Bottle appearance | What remains visible | Effect on the arrangement |
|---|---|---|
| Clear glass | The refill’s color and level. | Pale soap and a white pump can continue a white basin’s palette; changing the refill color changes the arrangement. |
| Translucent amber glass | Some contents remain visible through the brown tint. Dark liquid, dim light, or a large label can obscure the level. | The tint makes differently colored liquids appear more related. |
| Painted or frosted surfaces | Visibility depends on the surface; white glass is not necessarily opaque. | Green or white surfaces emphasize the bottle’s own color. |
Leave a side or back uncovered for level checks. Color may come from the glass or a surface treatment, affecting exterior care.
Choose amber for its appearance; any light-protection requirement needs evidence for the specific bottle, and color alone does not automatically extend soap shelf life.
Continue following the refill’s storage instructions, including any restriction on direct sunlight.
Pairing an amber bottle with its pump and surroundings
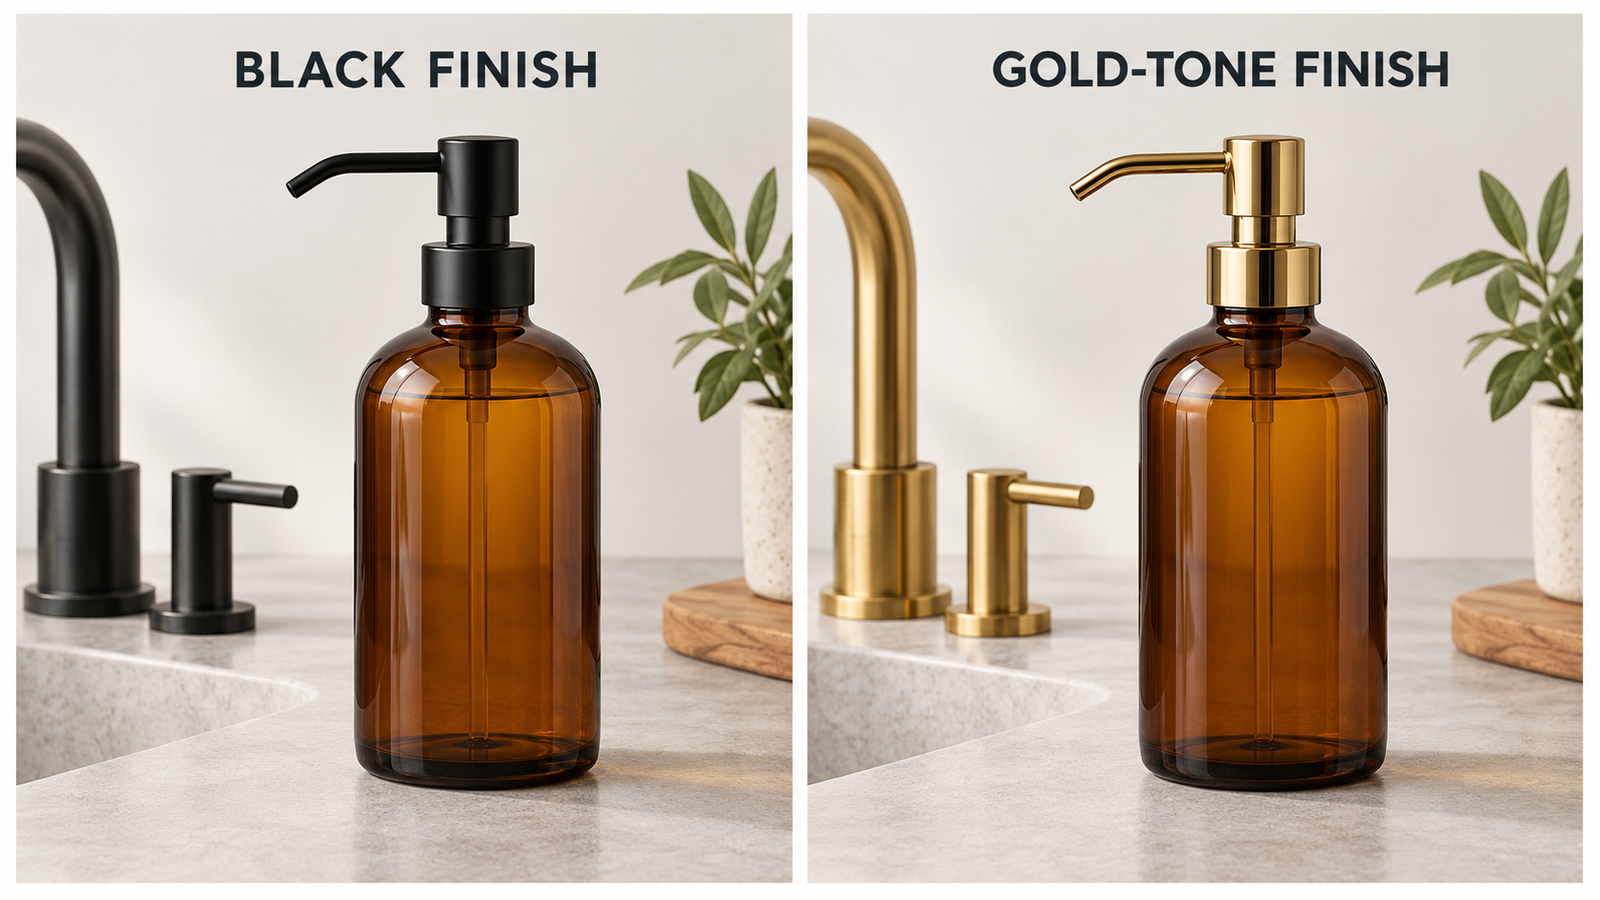
- Black pump: Repeats dark fittings; against a pale counter, the brown bottle stays distinct while its top connects visually with the faucet.
- Gold-colored pump: Draws attention to the reflective top and coordinates with warm metal fittings, with brown glass carrying that warmth downward.
Using two amber bottles together
Matching shapes and pump finishes coordinate a pair. White labels with dark lettering distinguish HAND WASH / HAND LOTION in a bathroom or HAND SOAP / DISH SOAP in a kitchen. Select each pump for its own liquid and leave glass uncovered for level checks.
Put the dispenser, space, and refill together
In tight spaces, start with the complete dispenser’s width, depth, and operating height. A smaller bottle can suit light use or a willingness to refill often.
If refilling is frequent, consider more usable capacity among the options you can comfortably operate, lift, and clean.
Measure the complete dispenser
These published examples both hold 200 mL and have a glass reservoir inside a metal housing, but occupy different spaces:
| Example | Capacity | Width × depth × total height |
|---|---|---|
| Narrower, taller model | 200 mL | 65 × 85 × 150 mm |
| Wider, shorter model | 200 mL | 80 × 95 × 110 mm |
These are product examples, not standard dimensions. Consider these hypothetical spaces:
- A 75 mm-wide opening: Excludes the wider model.
- 120 mm beneath a shelf: Excludes the taller model. Even the shorter model’s remaining 10 mm does not establish enough pressing clearance.
- Both restrictions together: Neither model fits.
Use assembled dimensions and allow for three kinds of space:
- Base and spout footprint: Bottle diameter omits spout projection. For pairs, include the tray and handling gaps.
- Pressing and receiving soap: A different pump may change total height; leave room to operate it and catch the soap.
- Gripping and removing parts: Allow room to grasp the bottle and remove its pump.
Choose a stable, reasonably dry surface where pressing from above will not push the bottle toward the edge.
Estimate capacity from your own consumption
Measure liquid consumption during ordinary use. Compare it with usable fill, which can be below stated capacity because the pump displaces liquid, headroom is needed, or the tube cannot reach the remainder.
Days between refills ≈ usable liquid filled ÷ average daily liquid consumption.
Required usable fill ≈ average daily liquid consumption × desired days between refills.
For illustration, 280 mL over 14 days gives 20 mL/day. At that assumed rate:
| Usable fill | Estimated refill interval |
|---|---|
| 180 mL | About 9 days |
| 360 mL | About 18 days |
Working backward, a 14-day interval requires about 280 mL of usable fill, plus bottle space for the pump and headroom. These are assumptions, not typical household consumption. For foam, measure reservoir liquid consumed, not foam volume, which includes air.
Apply the choices to your sink
Kitchen: If two bottles crowd the faucet or cannot be lifted comfortably, use one dispenser and keep the other liquid elsewhere in its original container. Different consumption rates may justify different capacities despite matching finishes and labels.
Bathroom: Choose a lower assembly or another stable spot if a shelf prevents pressing; less soap will not reduce bottle height. Keep any concentrate’s water-fill line visible for mixing. For more detailed bathroom-specific advice, see our guide to choosing a bathroom soap dispenser.
Filling, refilling, and cleaning
Start with a clean bottle for the first fill. For refills, use up suitable remaining soap and prepare the bottle by the refill system’s method before adding a fresh batch.
When cleaning is needed, wash the bottle’s interior and flush the pump: one reaches the reservoir walls, the other clears the liquid passage.
These methods can differ, especially where finishes, labels, and fill markings need protection.
Prepare, fill, and establish the flow
New bottle: Clean and dry it by its permitted method before filling.
For a used bottle, the preparation depends on the refill and the bottle’s condition:
- Routine refill: Where the refill requires an empty, clean, dry container, empty residue, wash the bottle, flush the pump, and let both dry.
- Changing liquids, residue, or uneven flow: Clear old product from both bottle and pump.
- An expressly permitted same-fragrance refill: Skip washing only where a matched glass-bottle system allows it. Use up old soap instead of repeatedly topping up.
For concentrates or tablets, prepare a fresh batch with the specified water quantity and method before fitting the pump. Drain cleaning water first: neither it nor leftover mixed soap counts toward that measured water. Change the label when changing contents.
Once the bottle is ready:
- Fill slowly on a stable surface. Use a funnel if helpful, leaving space for the pump or following the specified fill line.
- Fit the pump straight. Wipe the neck and screw on gently without forcing the threads.
- Release any lock by that pump’s method; some have no lock and there is no universal opening direction.
- Prime from the top. Press slowly several times, not on the spout tip. One empty stroke does not establish a fault.
Clean inside the bottle
Remove the pump and empty residue. For a bottle that permits hand washing with warm water and mild detergent:
- Rinse out loose residue with warm water.
- Add mild detergent and water; gently swirl or shake to reach the walls, shoulders, and bottom.
- Use a soft bottle brush that passes through the neck and reaches the inner shoulders and base. Do not force it through or scrape with a metal handle.
- Rinse until soap and cleaning residue are gone. Drain upside down in a stable position on a clean towel, then dry as directed.
Flush and clean the pump
At refills, inspect residue and pump movement; product instructions, buildup, and performance guide cleaning rather than a universal schedule. If warm-water flushing is permitted:
- Unscrew the pump and dispense remaining soap.
- Place the tube end in warm water and press repeatedly to pass water through the mechanism.
- Wipe the exterior and accessible residue with a soft damp cloth.
- Pump out remaining water and dry as directed before reassembly.
Flushing is not whole-pump immersion: some pumps prohibit soaking. Do not push sharp objects into the outlet or open a sealed mechanism.
Protect the finish, labels, and fill markings
Permission to wash the glass does not automatically extend to the pump, coating, label, or assembled dispenser.
- Labels: Some labeled amber bottles require hand washing and air drying even when the label is described as waterproof.
- Fill markings: Some frosted foaming bottles exclude dishwasher use because the markings can wash away. A lost water line affects preparation of the next concentrate refill.
Wipe permitted exteriors with a soft damp cloth and dry as directed. Use dishwashers, soaking, vinegar, strong cleaners, metal polish, or heat only where the component’s instructions allow them. Boiling water is not a general cleaning or disinfection method for a mixed assembly.
Troubleshooting and replacing parts
Check the liquid supply, tube, assembly, and residue before replacing parts. Correct visible problems and use permitted cleaning; the response helps distinguish a recoverable problem from a pump that needs replacement.
Check the symptom and the response
| What you notice | What to check or try | How the result guides the next step |
|---|---|---|
| Newly filled or emptied pump produces nothing | Check level, tube attachment/reach, and head movement; press several times to prime. | If an allowed water test works but soap does not, check liquid compatibility rather than assume dilution will help. |
| Intermittent flow or air drawn in | Check for a tube above the liquid, detached, bent, or pressed shut against the base. | Correct visible tube problems and retest; repeated failure may require a replacement pump. |
| Stiff head or liquid shooting out | Remove accessible dried residue, flush if allowed, and press from the top. | Residue may contribute, but the symptom does not prove blockage. Stop forcing a head that stays stuck. |
| Poor foam or mainly liquid | Check pump/refill pairing and tube attachment; clean as permitted. | If the right refill and cleaning do not restore foam, check or replace the pump instead of repeatedly changing dilution. |
| Leakage around the bottle neck | Refit straight; check threads and the correct seal. Wipe dry and observe. | More tightening cannot fix mismatched threads or damage. Persistent leakage needs the bottle checked or the incompatible/damaged part replaced. |
| Drips from the spout | Clear exterior residue, flush if allowed, and check liquid suitability. | Dripping does not establish a failed neck seal; investigate the outlet separately. |
After these checks and permitted cleaning, a pump that stays stuck, fails to return, has cracked parts, or continues leaking may need replacement; an intact, suitable bottle can remain in use.
Fit a replacement pump to the bottle
-
Match the neck and seal. Start with a replacement for that bottle and version; connections can change even within one brand. Otherwise, match the full neck specification: in 28/410, 28 identifies nominal outside thread diameter in millimeters and 410 the neck-finish series.
28/400 and 28/410 are not interchangeable merely because both begin with 28.
Rough diameter is only an initial check. Threads must engage and the seal must sit correctly; catching, sitting too high, or leaking calls for checking fit, not more force.
-
Check the dip tube. Measure from the pump gasket’s top to the tube end against the bottle’s internal height, from opening to inside bottom. A short tube leaves soap unreachable; a flat-cut end pressed against the base can block the inlet.
Trim only a tube designed for it, gradually and by its permitted method. An angled end can keep the inlet open near the bottom. A flexible tube may follow the side when designed to; do not bend a rigid one to imitate it.
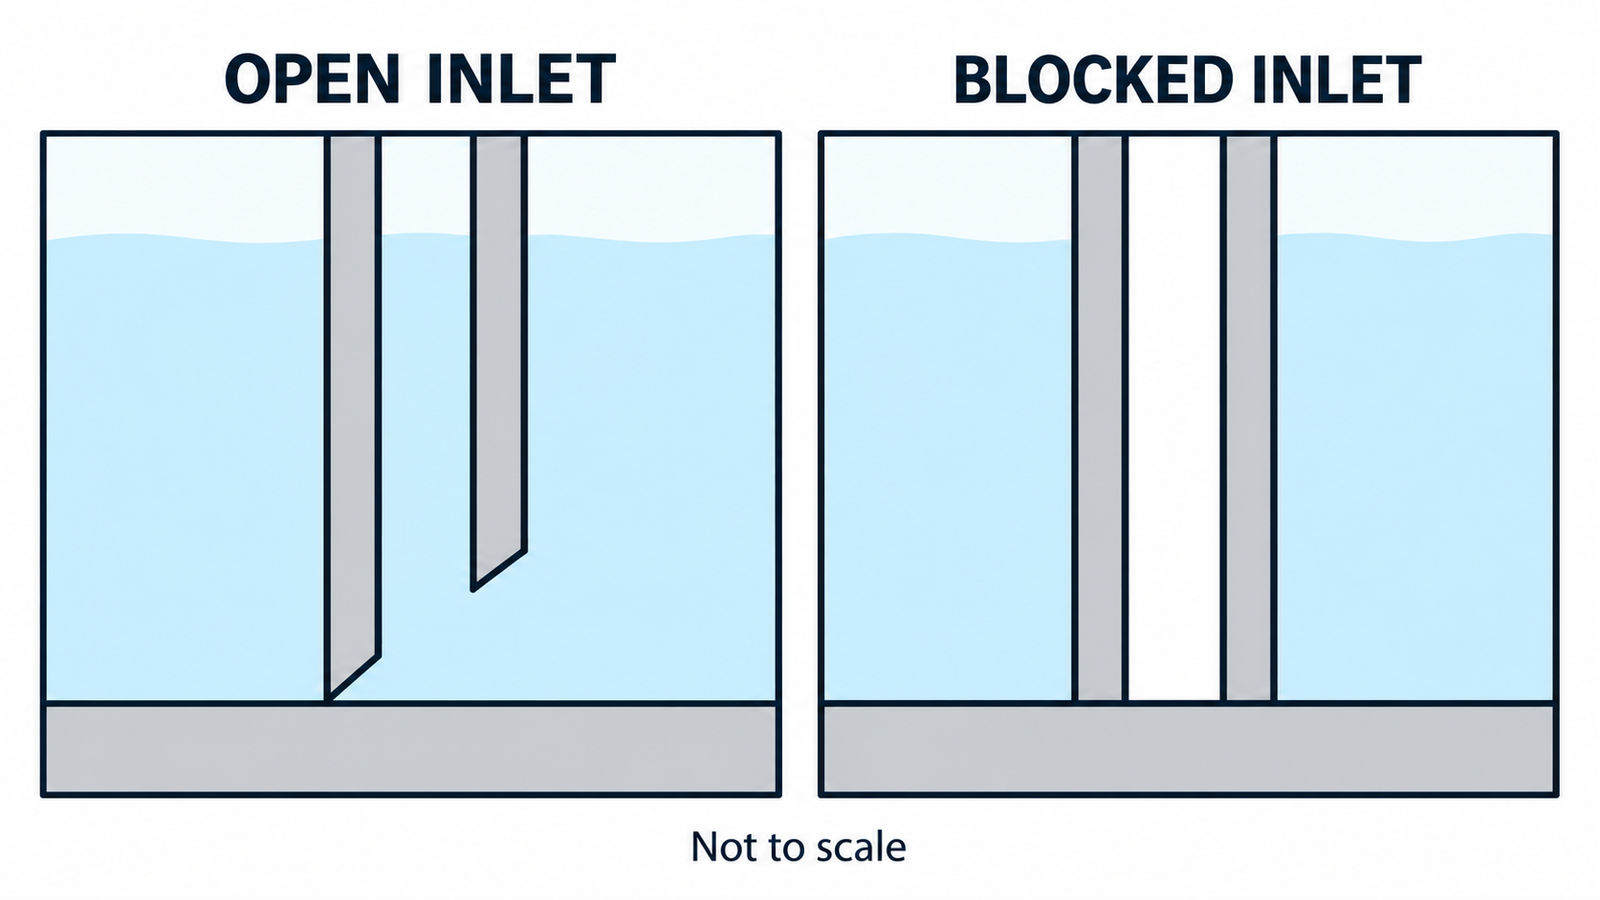
Reassemble and test. Prime with compatible liquid and check flow and leakage. Thread fit alone does not establish liquid compatibility or foaming function.
Stop filling or pressing a glass dispenser with a cracked or chipped bottle neck. Replace the damaged bottle; a new pump cannot repair it.